Gmail agent for job auto-replies

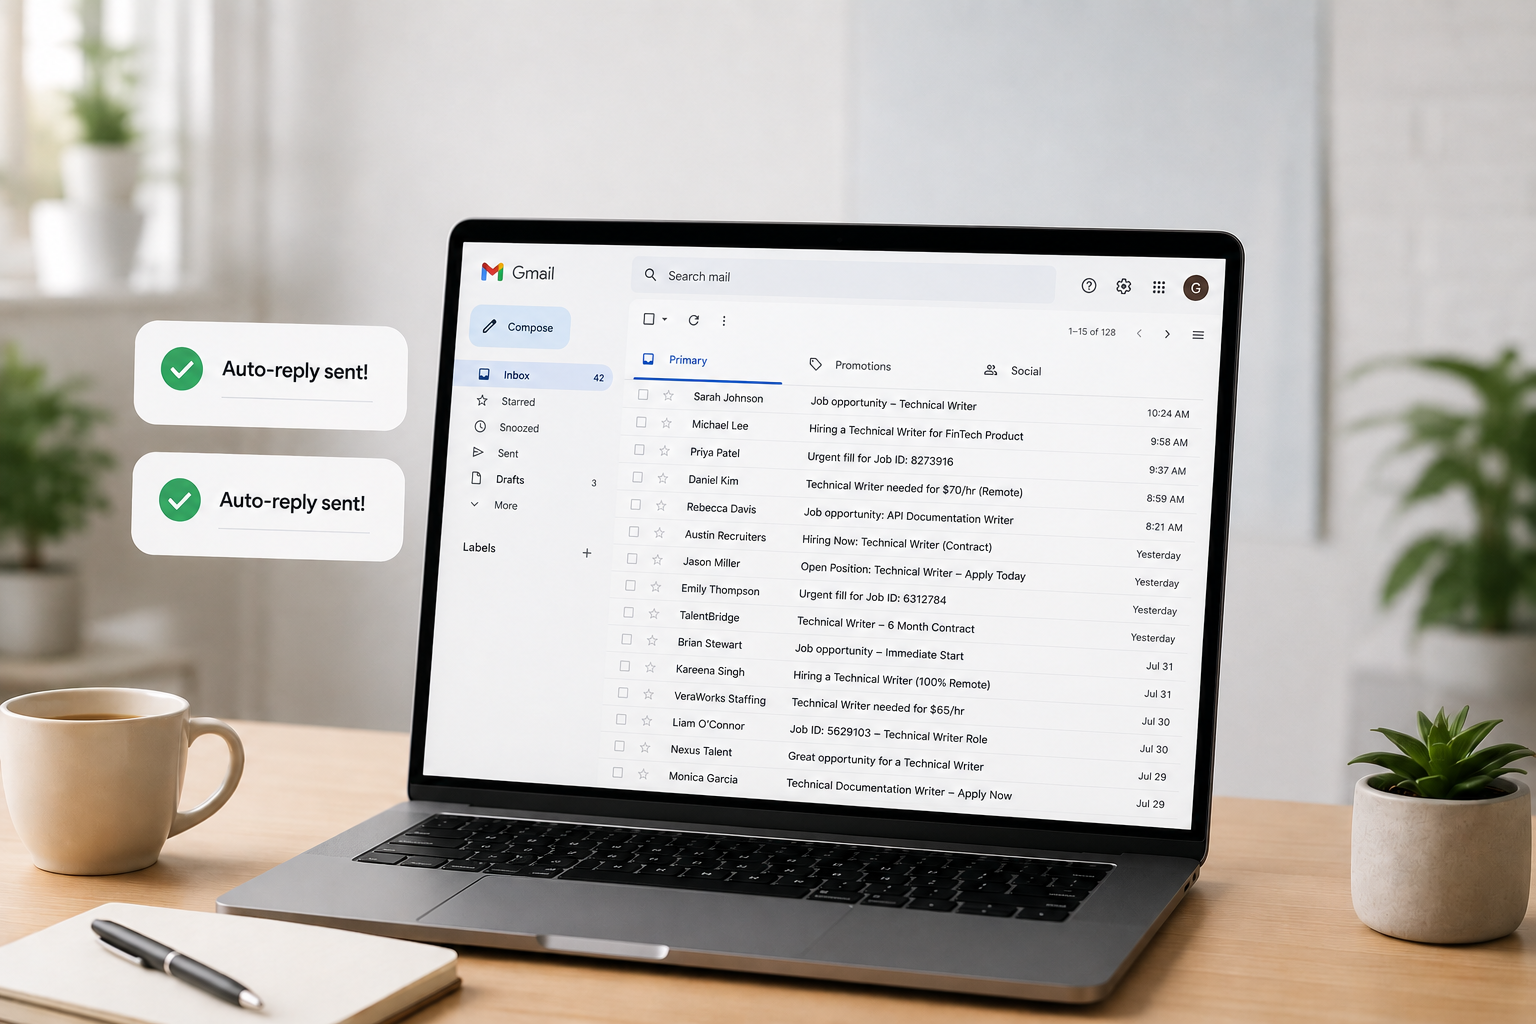
This article describes how I built a privacy-first agent (with Mistral and Ollama) that drafts customized
replies to recruiter emails without sending my inbox to the cloud.
The problem
Like many people job hunting, I get a steady stream of recruiter emails. Many are missing one or more key components: Job ID, pay range (required in California), or complete job description. And they want a quick reply with a resume attached.
I wanted an agent that would:
- Watch my Gmail inbox for job-related messages
- Detect whether an email is actually a job description
- Draft a reply using exact wording I specified
- Attach my latest resume
- Run entirely locally for security (no LLM API calls with email content)
My target account: guy.klages@gmail.com
Prerequisites
Before writing an agent, you need to have a clear list of which emails you want to reply to. I used Gmail's built-in Filters to distill which emails to target and then the built-in Labels feature to tag those filtered emails with a "Job" label.
Stack:
- Python 3.12 + Gmail API
- Ollama + Mistral 7B (local)
- Gmail filters for the "Job" label (upstream of the agent)
Important caveats
As you write your prompt, these are good things to keep in mind:
| Advice | Description |
|---|---|
| Output to draft | You will likely need to modify this email agent many times to perfect it, so you don't want this agent to auto-reply until after you've worked out all the kinks. |
| Structured logging | Log the subject, sender, classification result, and the conditional paragraphs to make debugging reply content easy. |
The overall process is:
Gmail Filters route → local LLM classifies → code templates reply → human approves send.
What I asked for (the initial prompt)
I asked Cursor to build an agent to write a customized email reply to any email tagged as "Job" with the following reply rules:
Always start with:
Hi, thank you for your email, I have attached my latest resume.
If the email lacks "Job ID" (subject or body):
To prevent duplicate submission, please tell me the Job ID.
If there's no numeric pay range:
California state law requires Job Descriptions to include the pay range. Please tell me their budgeted W2 pay range for this role.
Always end with:
To answer common questions:
- I'm a US Citizen
- My legal name is Guy Klages
- My birth month and day are 0231
- I don't have any vacations planned
- I just started initial rounds of interviews with three other companies.
Please email me for any other questions or send me the RTR.
Thank you
And one hard constraint: use Mistral locally—no cloud LLM processing email content.
Architecture
The biggest design decision was not letting the LLM write replies.
| Task | Tool | Why |
|---|---|---|
| "Is this a job description?" | Local Mistral via Ollama | Needs judgment; must stay on-device |
| Job ID present? | String search | Exact, deterministic |
| Pay range present? | Regex | Exact, deterministic |
| Reply body | Python template | Zero wording drift |
The following is a flow diagram:
Lesson for builders Use the LLM for classification only. Put legal/compliance/personal boilerplate in code.
Project structure
gmail-job-agent/
├── agent.py                         # Main poll loop
├── classifier.py                    # Ollama/Mistral YES-NO classification
├── reply_builder.py                 # Deterministic reply rules
├── gmail_client.py                  # Gmail API: read, draft, label
├── setup_auth.py                    # One-time OAuth
├── config.yaml                      # Account, resume path, mode, labels
├── credentials.json                 # Google OAuth client (gitignored)
├── token.json                       # Refresh token (gitignored)
└── com.guyklages.gmail-agent.plist  # Optional macOS background job
Step 1: Google Cloud and Gmail API
Setup
- Google Cloud Console → new project
- Enable Gmail API
- OAuth consent screen → External, Testing mode
- Credentials → OAuth 2.0 Desktop app
- Download JSON → save as
credentials.json
Scopes needed
gmail.readonly
gmail.send
gmail.modify
Notes:
gmail.sendis required for drafts.modifyis required for labels.
Error 403: access_denied
After running setup_auth.py, I hit:
Access blocked: Gmail-autoreply-to-job-agent has not completed the Google verification process
Cause: OAuth apps in Testing mode only work for explicitly listed test users.
Fix:
- APIs & Services → OAuth consent screen
- Test users → Add
guy.klages@gmail.com - Save, wait ~1 minute, rerun
setup_auth.py
Notes:
- You do not need Google verification for a personal single-user agent.
- Testing mode + your email address as a test user is enough.
Step 2: Local Mistral with Ollama
brew install ollama

brew services start ollama

ollama pull mistral
Health check from Python:
requests.get("http://localhost:11434/api/tags")
Mistral ignores YES/NO
Early on, /api/generate returned " Job Opening" instead of YES or NO.
Fix: Switch to the chat API with a strict system prompt, plus fallback parsing:
messages = [
    {
        "role": "system",
        "content": (
            "You classify incoming emails. Respond with exactly one word: "
            "YES if the email is about a job opening or job description, "
            "otherwise NO. Do not explain."
        ),
    },
    {"role": "user", "content": f"Subject: {subject}\n\nBody:\n{body}"},
]
If the model still wanders, parse markers like JOB OPENING, HIRING, NOT A JOB, etc.
Lesson Never assume instruction-following models follow instructions. Always validate and parse defensively.
Step 3: OAuth authorization
"I don't have a python directory"
In .venv/bin/ you see:
python -> python3.12
python3 -> python3.12
python3.12 -> /Library/Frameworks/.../python3.12
That's normal. python is a symlink, not a folder.
Run:
cd ~/Projects/gmail-job-agent

.venv/bin/python setup_auth.py
All of .venv/bin/python, python3, and python3.12 work the same.
Success looks like:
Authenticated successfully as guy.klages@gmail.com
Token saved to .../token.json
Step 4: Reply rules in code
Pay-range detection uses regex:
PAY_PATTERNS = [
    r'\$[\d,]+(?:\.\d{2})?\s*[-–—to]+\s*\$[\d,]+',
    r'\$[\d,]+k\s*[-–—to]+\s*\$[\d,]+k',
    r'salary[:\s]+\$?[\d,]+',
    # ...
]
Job ID check is a simple case-insensitive search for "job id".
The full reply is assembled from fixed strings.
Step 5: Evolving requirements
My first version automatically sent replies and scanned all unread mail. After testing, I changed three things:
Auto-send → drafts
mode: draft # was: send
Safer default: review every reply before it goes out.
Gmail filter first, agent second
My Gmail filter already applies a Job label. The agent should only process those:
gmail:
  source_label: Job
  processed_label: job-agent/processed
Gmail search query:
label:"Job" -label:job-agent/processed
Flow:
- Email arrives
- Gmail filter → Job label
- Agent polls → classifies → creates draft
- Agent adds job-agent/processed (won't run twice)
The agent never adds the Job label.
Don't mark messages as read
Originally, mark_processed removed the UNREAD label. I removed that:
body = {"addLabelIds": [self.processed_label_id]}
# No removeLabelIds: ["UNREAD"]
The inbox stays visually "unread" until I actually open the message.
Step 6: Running the agent
You can run your agent three ways:
A) One-shot test
.venv/bin/python agent.py --once --verbose
B) Continuous (foreground)
.venv/bin/python agent.py
C) Background (macOS launchd)
cp com.guyklages.gmail-job-agent.plist ~/Library/LaunchAgents/

launchctl bootstrap gui/$(id -u) ~/Library/LaunchAgents/com.guyklages.gmail-job-agent.plist
Logs: agent.log in the project directory.
launchctl unload
I tried to restart a service that was never installed:
- Plist wasn't in
~/Library/LaunchAgents/ - Service wasn't loaded
Fix: On modern macOS, use bootstrap / bootout instead of load / unload:
# Install
launchctl bootstrap gui/$(id -u) ~/Library/LaunchAgents/com.guyklages.gmail-job-agent.plist

# Remove
launchctl bootout gui/$(id -u) ~/Library/LaunchAgents/com.guyklages.gmail-job-agent.plist
Note: Error 5 on unload usually means nothing to unload. (not a broken agent)
Advice for others building Gmail agents
Start with drafts, not send
Auto-reply agents can embarrass you. Draft mode + human review is the right first ship.
Use Gmail filters as the first gate
Let Gmail's fast, free rules handle obvious routing. Use your agent for judgment calls (classification) and structured output (templated replies).
Keep a processed label
Without the job-agent/processed label, every poll recreates drafts for the same thread. Idempotency matters.
Don't send PII to cloud LLMs
Recruiter emails contain names, companies, sometimes compensation. Local inference (Ollama, llama.cpp, MLX) keeps that on your machine. Gmail API traffic to Google is unavoidable; LLM inference doesn't have to leave your Mac.
Put personal details in config
Legal name, birth month/day, citizenship lines belong in config.yaml (gitignored), not hardcoded in your source repo.
Test classification with real emails
Mistral correctly classified "Backend Engineer opening" vs "Your Amazon order shipped" after the chat API fix, but your recruiter corpus may differ. Keep a --once --verbose loop handy.
OAuth Desktop app, not Web
Web OAuth clients need redirect URI gymnastics. Desktop app + run_local_server() is simpler for CLI agents.
Regex pay-range detection
Regex pay-range detection will miss edge cases such as "$140K DOE" and "€120k", so tune patterns from real emails. When in doubt, include the California pay-range ask since false positives are safer than false negatives.
Resume path: One canonical file
Point config at a single PDF. Update that file when you revise your resume; the agent will then always attach the latest.
Reference
Final config file
gmail:
  account: guy.klages@gmail.com
  source_label: Job
  processed_label: job-agent/processed

resume:
  path: /Users/guyklages/Downloads/Guy_Klages_resume.pdf

ollama:
  base_url: http://localhost:11434
  model: mistral

mode: draft

poll_interval_seconds: 300

reply:
  legal_name: Guy Klages
  birth_month_day: "0231"
Stop your agent
The methods below turn off everything, depending on how you started your agent.
Running in a terminal
If you ran .venv/bin/python agent.py then go to that terminal window and press CTRL + C. That stops the poll loop immediately.
Running as a backgroup service
If you used launchd to run your agent in the background, check if it's loaded:
launchctl print gui/$(id -u)/com.guyklages.gmail-job-agent
If that prints service info, then stop and remove it by entering:
launchctl bootout gui/$(id -u) ~/Library/LaunchAgents/com.guyklages.gmail-job-agent.plist
(Optional) Remove the plist so it doesn't come back:
rm ~/Library/LaunchAgents/com.guyklages.gmail-job-agent.plist
Kill any leftover agent process
If you're not sure, you can kill any other leftover agent process by entering the following:
pkill -f "gmail-job-agent/agent.py"
You can verify nothing is left with pgrep -fl agent.py. No output means it stopped.
Stop Ollama
Ollama runs in the background and loads Mistral when needed. To stop it, enter:
brew services stop ollama
To prevent it from starting at login, run that command a second time. Then Ollama won't auto-start again until you run brew services start ollama.


